Key Takeaways
1. Switching to Bridge Mode: Before using OpenWRT, the Vodafone router must be set to bridge mode to avoid network issues like double NAT.
2. Accessing Bridge Mode: Bridge mode cannot be enabled through the local web interface; it must be done via the Vodafone online account.
3. Homespot Feature: The Homespot feature, which allows sharing of the internet connection, must be disabled to activate bridge mode, and this process can take up to a week.
4. Testing the New Setup: Ensure that the OpenWRT router is functioning properly before enabling bridge mode by testing it behind the Vodafone Station.
5. Next Steps: After confirming the new router works, bridge mode can be activated, leading to further network enhancements like adding a switch and a dedicated access point.
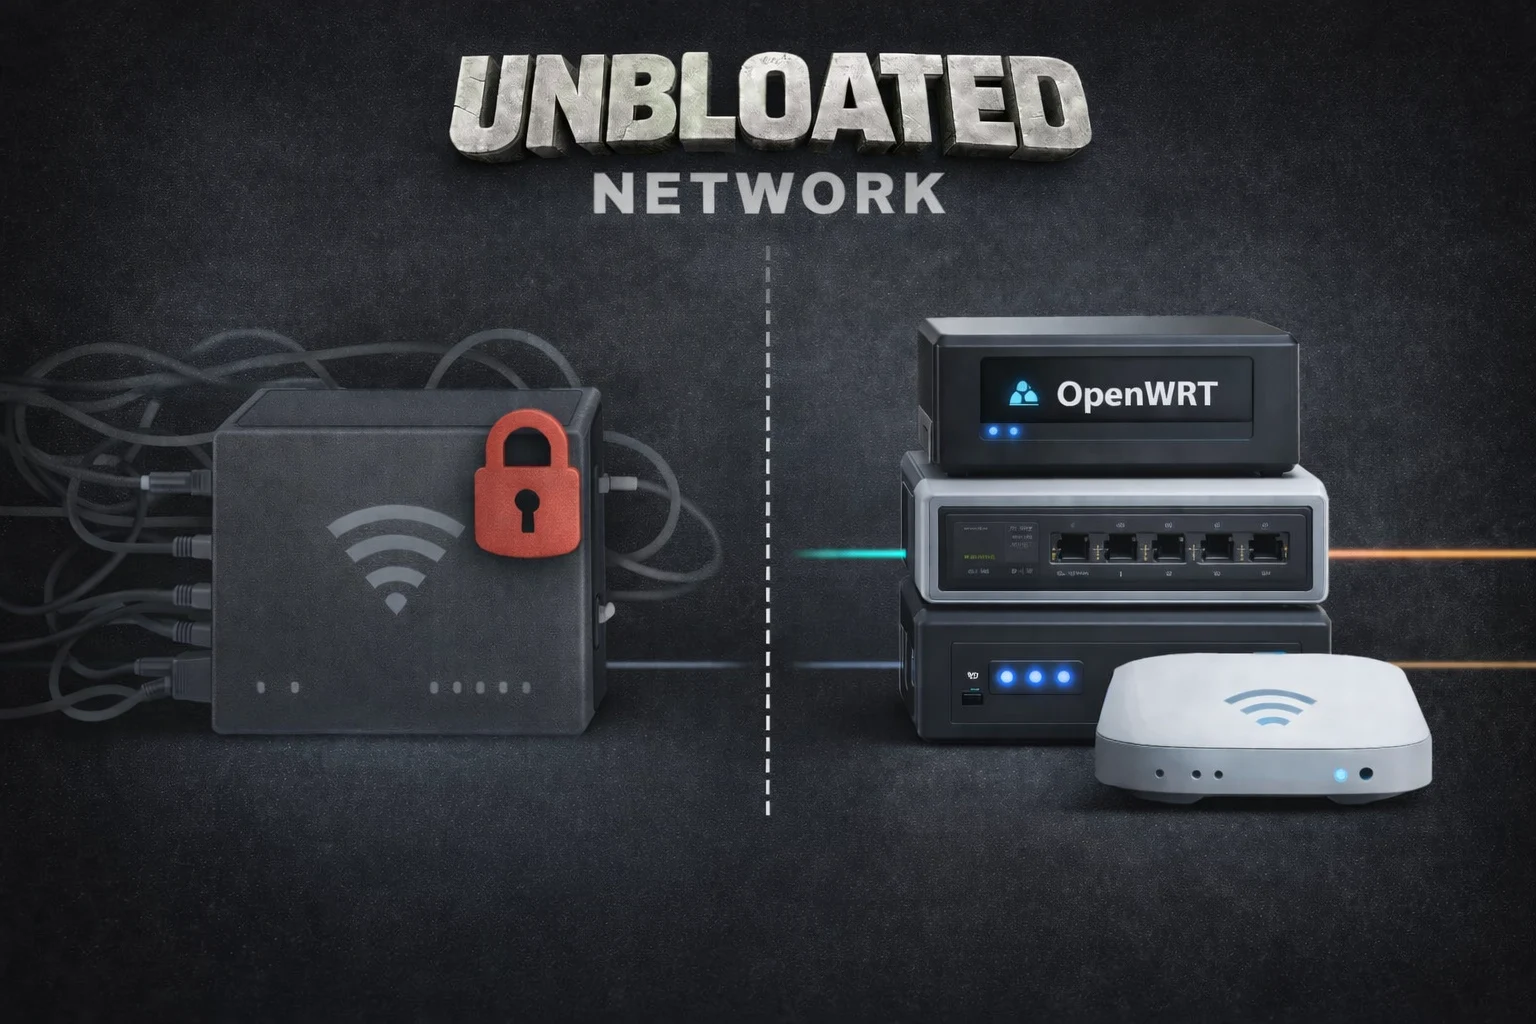
In the last section of this series, I got OpenWRT up and running on an x86 PC, specifically a Zimaboard (the prices are nuts right now: $376 for the Zimaboard 2 over on Amazon).
Time to Change the Vodafone Router
Before the new open-source router can take charge, the Vodafone router must stop being a router. If both devices are routing, you’ll face issues like double NAT and other network problems. To prevent that, it’s necessary to switch the Vodafone Station into bridge mode so it can operate solely as a modem.
Enabling Bridge Mode
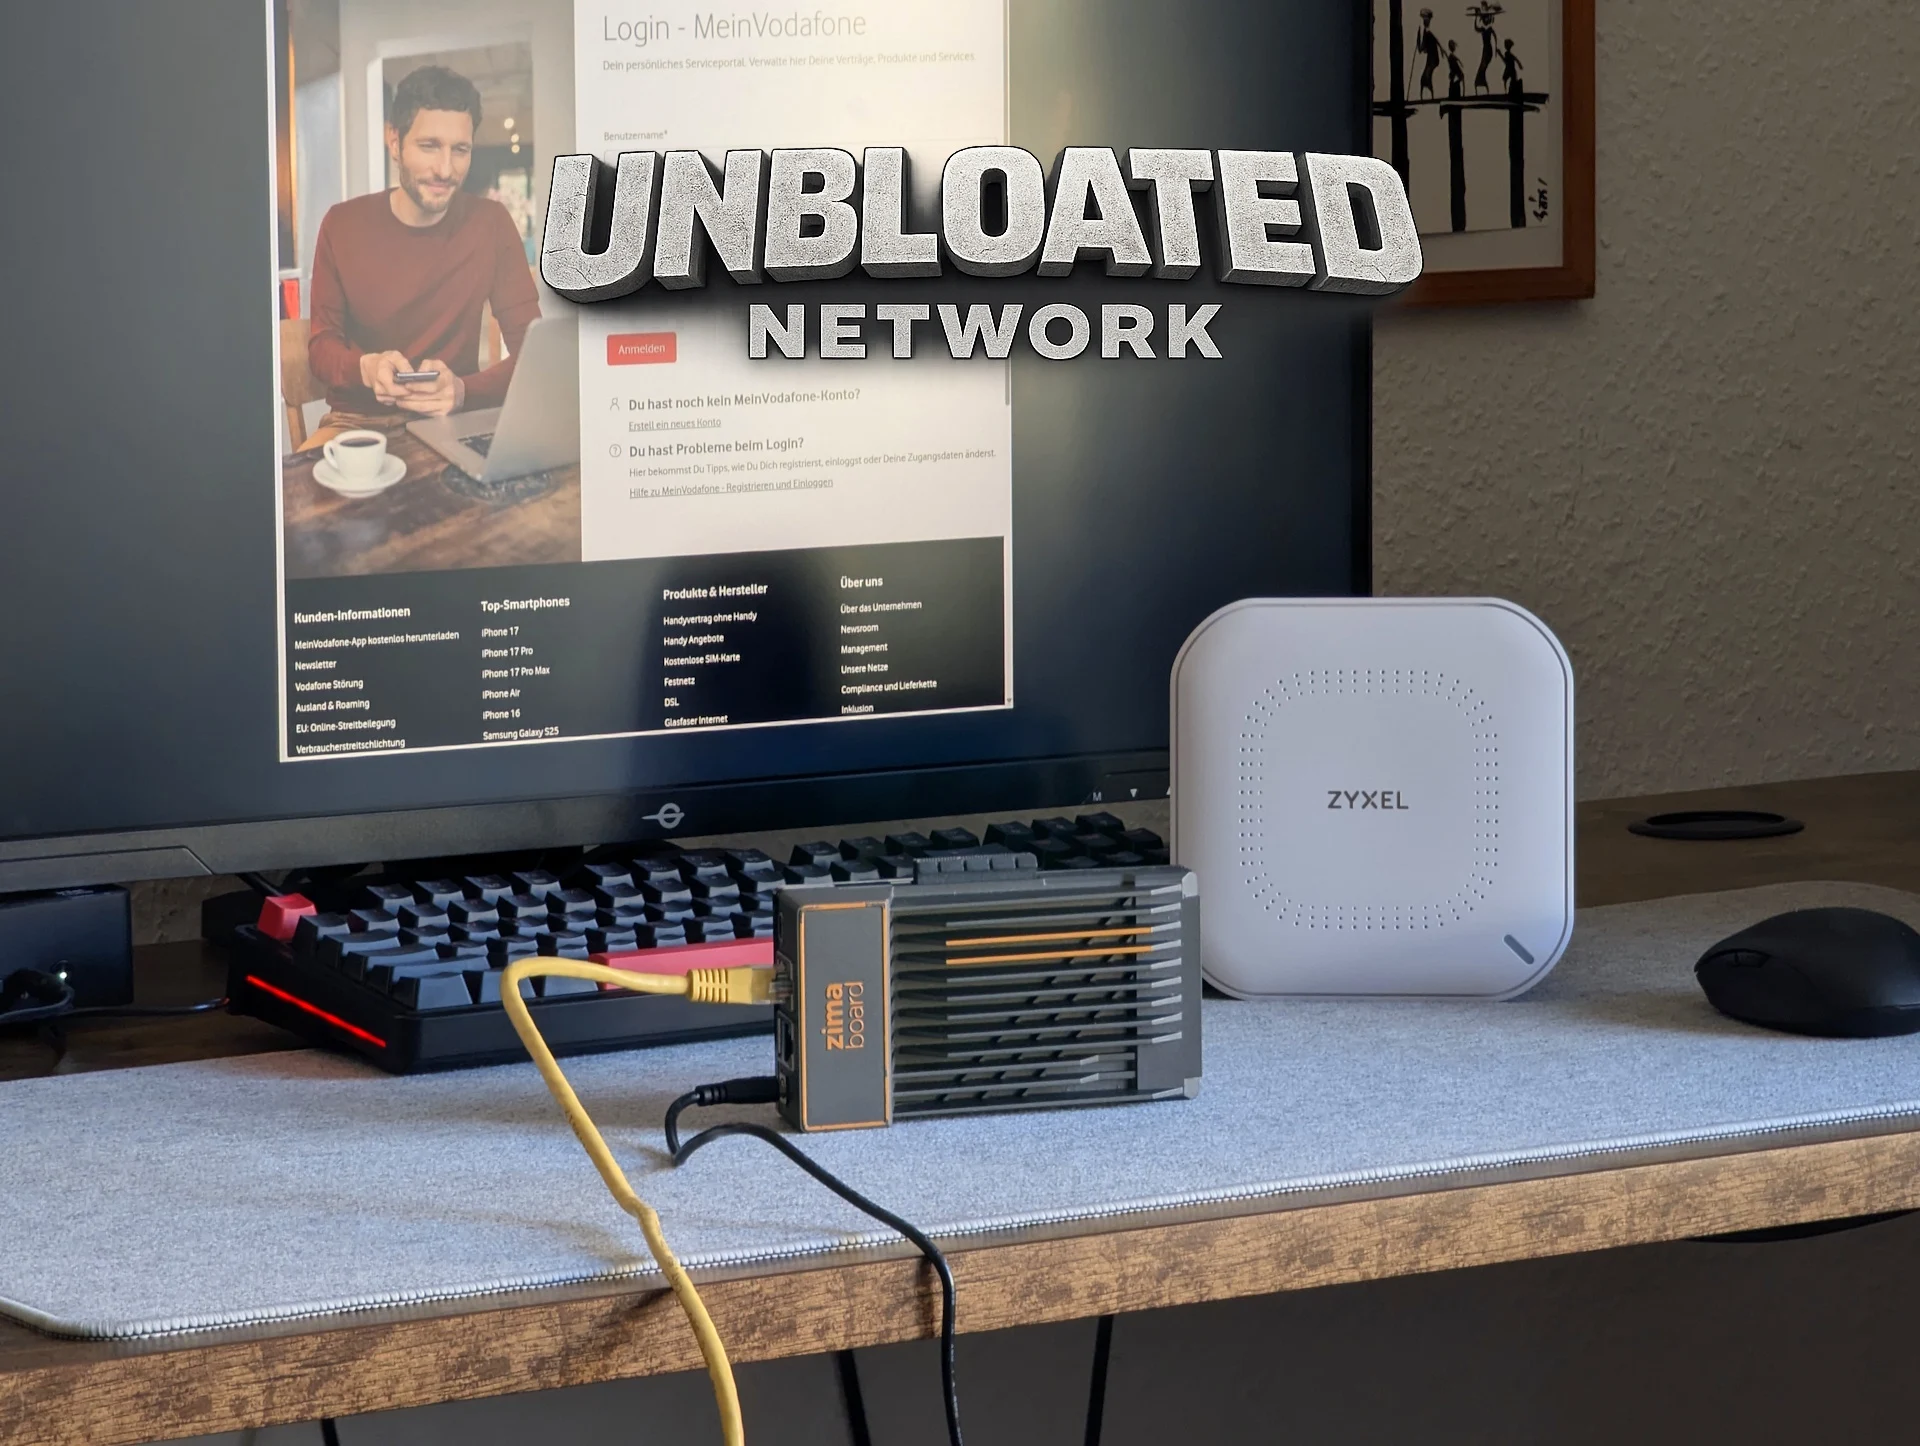
Turning on bridge mode isn’t very complicated, but it can’t be done through the router’s local web interface. Instead, you have to log into your Vodafone online account. Once you’re logged in, head over to the homepage (“My Vodafone”), then:
Sometimes, you can switch it on right away. If you see the option and it’s clickable, the process might be pretty easy.
However, in many situations, bridge mode can’t be activated immediately because the Vodafone Homespot is still on. Homespot lets you share a part of your internet connection with other Vodafone users, and in return, you get access to millions of Vodafone hotspots across the globe.
Understanding the Homespot Issue
The catch is that Homespot makes the Vodafone Station create a distinct public Wi-Fi network. This feature doesn’t work with bridge mode since a modem-only setup can’t support extra wireless networks.
To move forward, you’ll need to turn off the Homespot feature. Remember that doing this will cut off access to Vodafone’s hotspot network. Personally, I’ve never used it.
Disabling Homespot isn’t immediate. Vodafone mentions that the process could take up to a week. After you request the deactivation, keep checking your account. Once Homespot is completely turned off, you should be able to switch on bridge mode.
Testing Your Setup
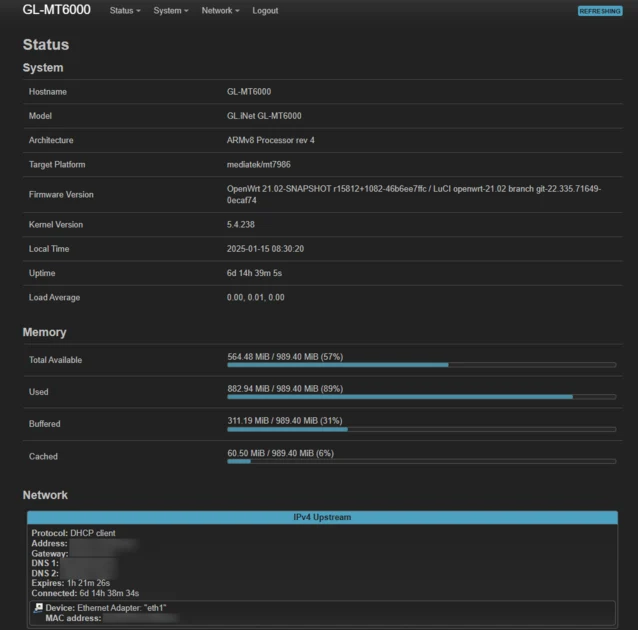
But, it’s essential to only enable bridge mode after confirming that your new router is operating as it should (refer to part 3 of the Unbloated Network series). Before making the change, it’s wise to test your new setup.
Plug your OpenWRT router behind the Vodafone Station. If everything connects properly in this arrangement, your new router is working as it should and is ready to take over. Only after that should you enable bridge mode.
In the upcoming part of the series, we’ll check if everything runs smoothly as planned. With bridge mode activated, the new router connected behind the modem, and the PC linked to the router—will the system function well?