
Dealing with a write-protected SD card can be quite frustrating for users who encounter the error message, "The disk is write-protected." This issue may appear as a dead end, especially for those not well-versed in computer troubleshooting. However, fear not, as there are solutions available to tackle this problem effectively.
Methods to Remove Write Protection and Format SD Cards
In this comprehensive guide, we will explore five straightforward methods to eliminate the write protection barrier and format your SD card with ease. Additionally, we will delve into data recovery, providing insights on how to recover lost files from your now-accessible SD card.
Preparing to Format a Write-Protected SD Card
Before attempting to format a write-protected SD card, it is crucial to take some essential preparatory steps. Conducting a thorough virus scan is highly recommended to identify and address any potential malware issues that could be causing the write protection problem.
Moreover, anticipating data loss during the formatting process is essential. To mitigate this risk, consider using data recovery software like Tenorshare 4DDiG, known for its high success rate and user-friendly interface in retrieving lost files from formatted SD cards.
Disabling Write Protection on an SD Card
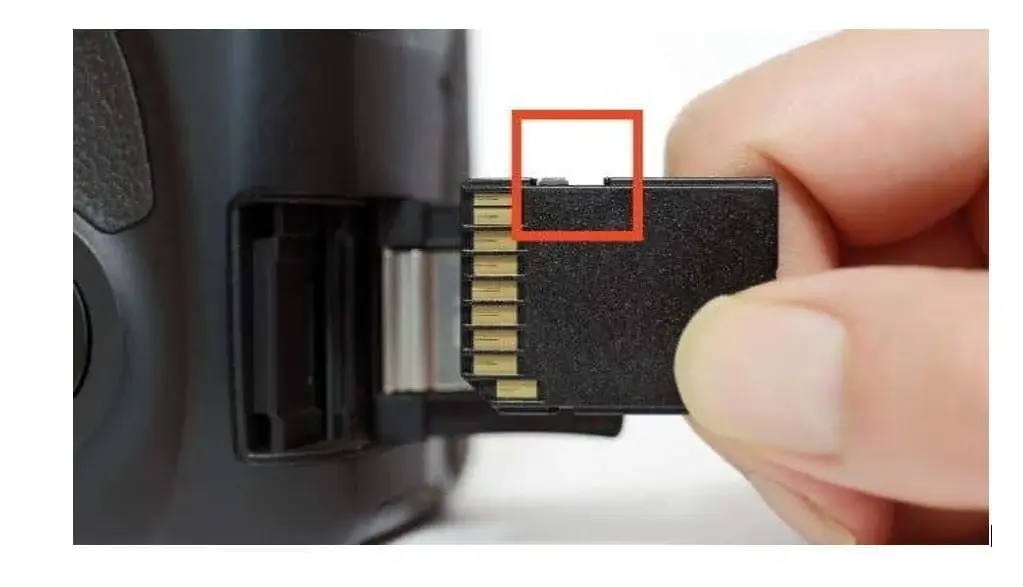
Turning Off the Physical Write Protection Switch
Many SD cards come with a physical switch located on the side, acting as a safeguard against accidental data alterations or deletions. Before formatting a write-protected SD card, ensure that this switch is set to the unlocked position to disable the write protection mechanism.
Remove Write Protection Using Diskpart
One effective method to remove write protection from an SD card involves using the Diskpart tool. This tool is suitable for users comfortable with a command-line interface. Here's a step-by-step guide to help you through the process:
- Connect the SD Card: Plug the write-protected SD card into your computer.
- Access Command Prompt (Admin): Press “Win + X” and choose “Command Prompt (Admin).”
- Launch Diskpart: Type “diskpart” and hit Enter.
- List Disks: Enter “list disk” to display available disks.
- Select the SD Card: Identify and select your SD card.
- Clear Write Protection: Type “attributes disk clear readonly” to remove write protection.
Utilize Registry Editor to Disable Write Protection
While using the registry editor to disable write protection is more complex, it can be achieved with caution. Here's a step-by-step guide to navigate this process safely:
- Access Registry Editor: Open the Run dialog box by pressing “Win + R,” type “regedit,” and press Enter.
- Navigate to the Key: Go to HKEY_LOCAL_MACHINESYSTEMCurrentControlSetControlStorageDevicePolicies.
- Create DWORD Value: Right-click, choose “New,” then “DWORD (32-bit) Value” named “WriteProtect.”
- Modify Value Data: Double-click on the WriteProtect value and set its data to 0.
Consider Utilizing Third-Party Software
If traditional methods fail, third-party tools can be a viable solution. Here are a few popular options to explore:
- SD Memory Card Formatter: Designed for formatting SD cards, offering a straightforward approach.
- EaseUS Partition Master: Provides comprehensive partition management, including addressing write protection on SD cards.
By following these methods diligently, users can effectively remove write protection from their SD cards, granting them the freedom to format or modify the card contents as needed.
Leave a Reply