Key Takeaways
1. A 27-year-old man in Japan faces severe punishment for allegedly violating copyright laws by using AI to replicate a well-known image.
2. This case marks the first prosecution of a citizen for using an AI-generated image in Japan.
3. Prosecutors may struggle to win the case, as legal actions against AI developers have often failed in other countries.
4. The individual reportedly made 20,000 requests to the AI model, using one output commercially, raising questions about intent in copyright infringement.
5. A ruling against the man could set a significant legal precedent regarding the use of AI in creating images.
Courtrooms globally have been wrestling with the legality surrounding works created by AI. Up until now, copyright infringement discussions have mainly focused on the owners of generative AI technologies. However, in Japan, a citizen faces the threat of “severe punishment” after instructing Stable Diffusion to replicate a well-known image.
Legal Troubles in Japan
An article by Automaton highlights the challenges faced by a 27-year-old man in Chiba Prefecture. Local police have suggested that he be charged for violating copyright laws. The Yomiuri Shimbun reports this as the first instance where a citizen has been prosecuted for utilizing an AI-generated image.
Challenges for Prosecutors
Even if this case goes to court, it might prove tough for the prosecutors to win. Usually, plaintiffs go after the developers of these applications, who have the money to settle large claims. Different countries hold varying perspectives on the fair use of images produced by generative AI tools. Still, other legal actions against Stable Diffusion have not achieved the desired outcomes.
In the U.K., Getty Images failed in its copyright infringement claims against the open-source platform. Similarly, in the U.S., judges have consistently decided that artwork generated by machines does not qualify for copyright protection. However, one legal analyst, Kensaku Fukui, believes that the situation surrounding the potential charges in Japan is unique.
Specific Circumstances
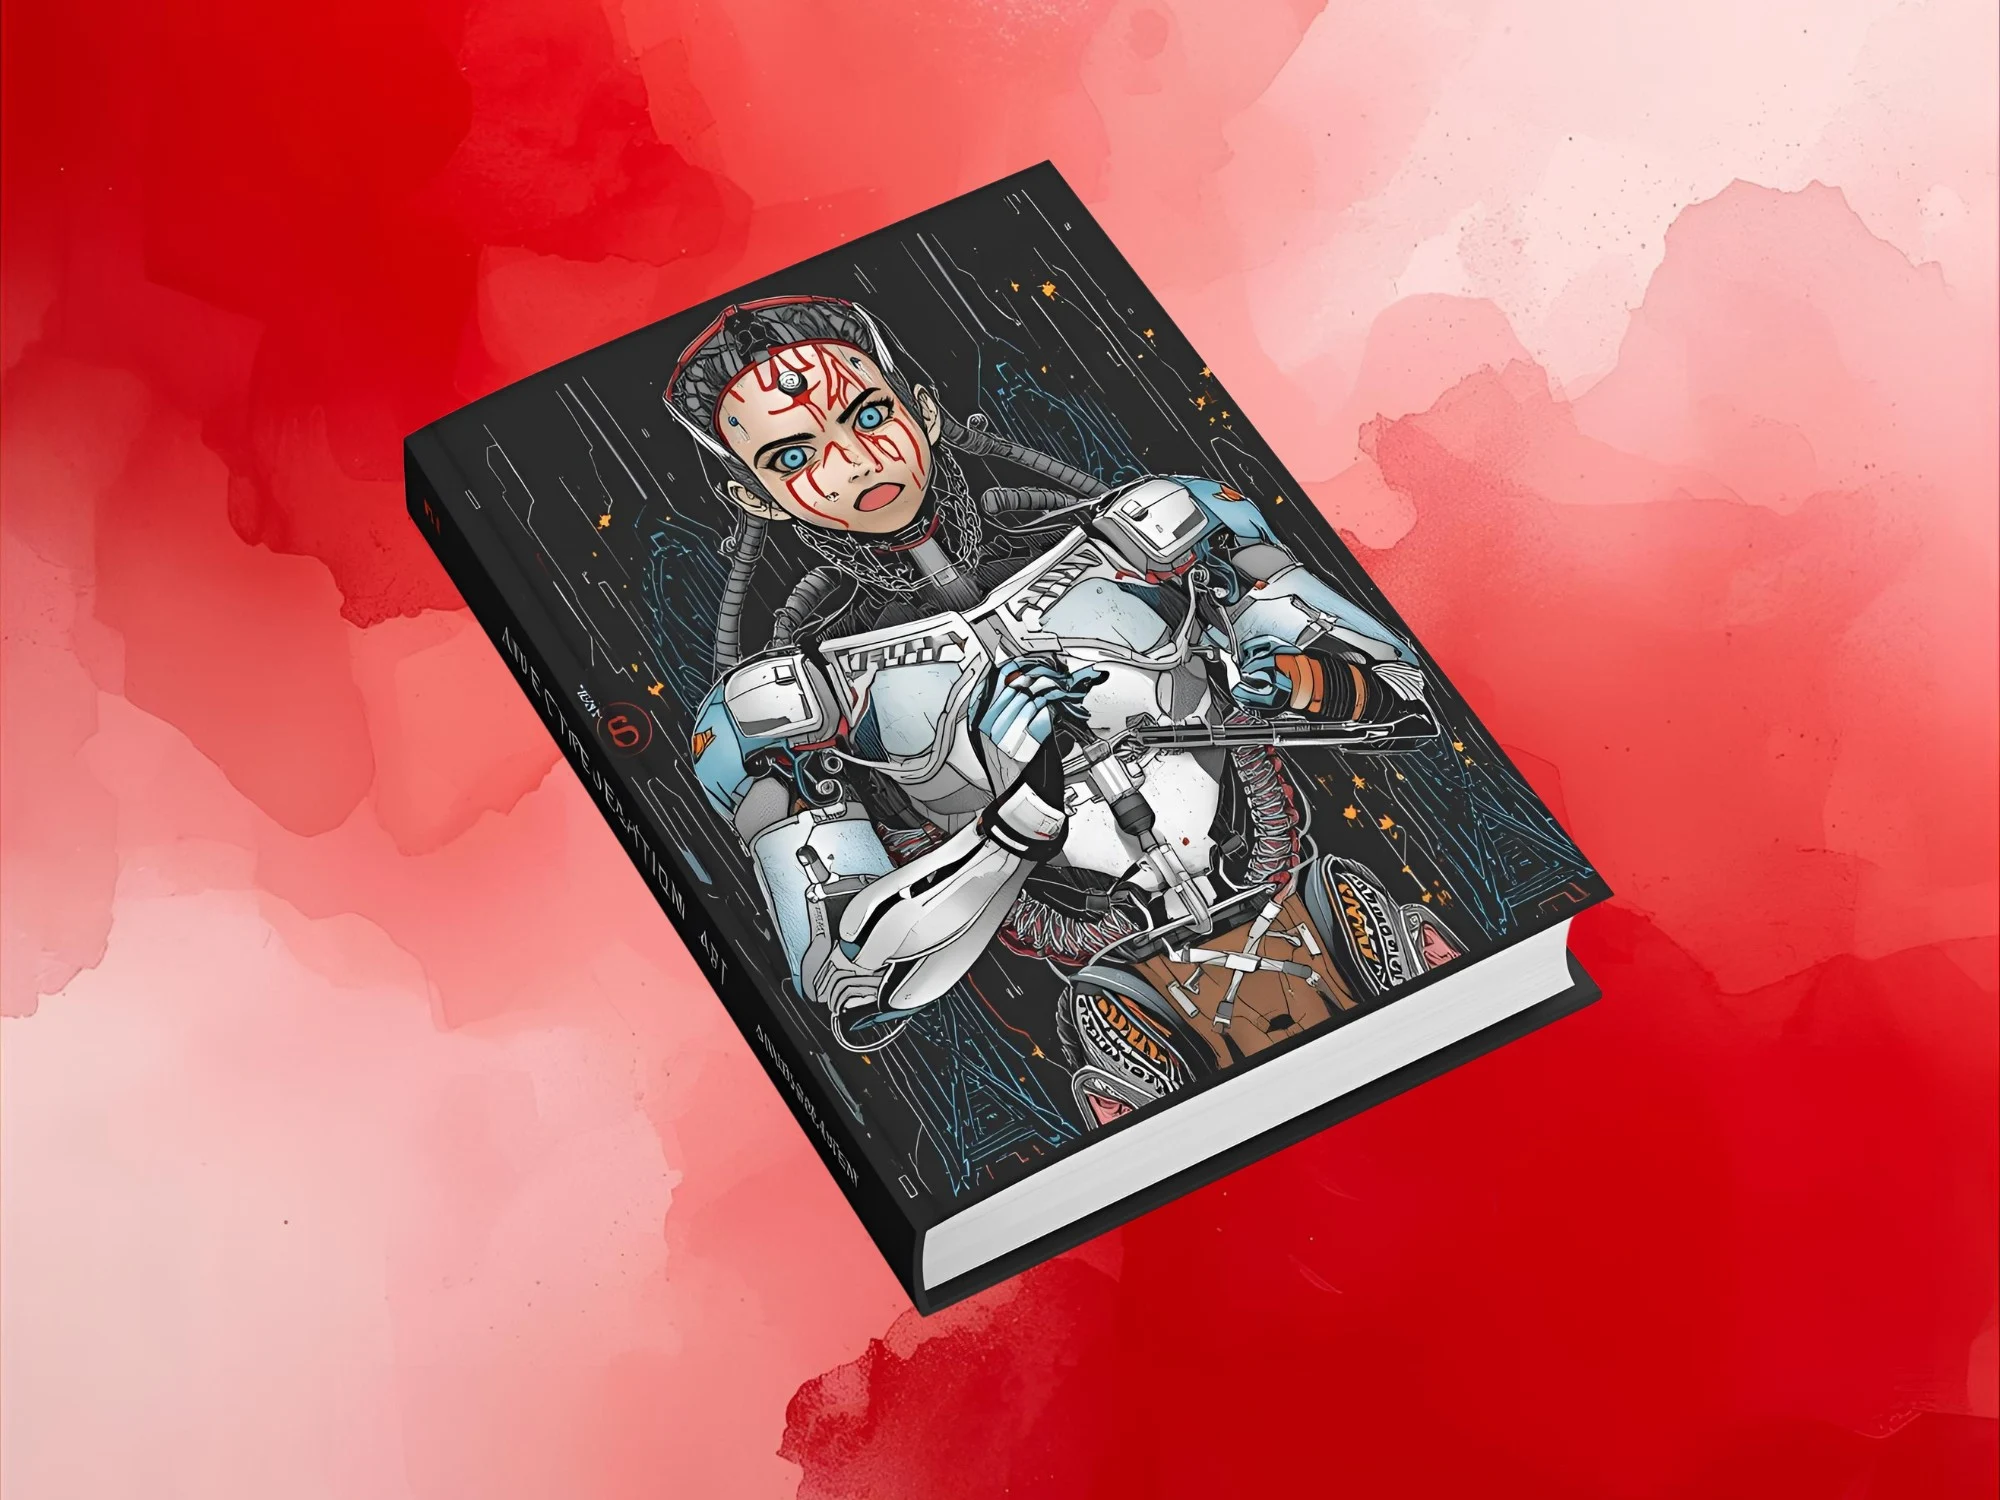
Fukui points out that the individual made 20,000 requests to the Stable Diffusion AI model. Allegedly, he used one output as a book cover and then sold it at a retail store. Fukui contends that the man provided specific commands to generate a copyrighted image. If this case goes to trial, lawyers will debate whether intent should play a role in determining any criminal charges.
It remains unclear if a copyright owner alerted the police, or what specific AI artwork the unnamed man is accused of copying. Regardless, a ruling against him could create a significant legal precedent.
Source:
Link